
Complete Clean Dream Quest in ARC Raiders Guide (July 2026)
The Clean Dream quest in ARC Raiders is a non-combat mission introduced in the Cold Snap update that tasks players with inspecting filtration systems and photographing blueprints across two maps. This comprehensive guide will walk you through each step, providing detailed locations, strategies, and expert tips to complete the quest efficiently in just two raids.
Quick Reference: Clean Dream Quest Overview
| Quest Element | Details |
|---|---|
| Quest Giver | Apollo in Speranza |
| Maps Required | Spaceport (first raid), Blue Gate (second raid) |
| Total Objectives | 5 main objectives across 2 maps |
| Estimated Time | 30-45 minutes total |
| Combat Required | None (stealth recommended) |
| Recommended Loadout | Free or low-tier gear |
Getting Started: Quest Preparation
Before diving into the Clean Dream quest, proper preparation will significantly increase your success rate. This mission is unique among ARC Raiders quests because it focuses entirely on exploration and interaction rather than combat, making it accessible to players of all skill levels.
Contents
Starting the Quest:
- Visit Apollo in Speranza – The Clean Dream quest is given by Apollo, who can be found in the Speranza hub area
- Track the Quest – Before deploying, ensure you’ve tracked the Clean Dream quest in your journal, or your progress won’t count toward completion
- Choose Your Loadout – Since this is a non-combat focused mission, use a free or low-tier loadout to minimize risk
Pro Tip: The Clean Dream quest dialogue reveals Apollo’s dream of creating “explosives with more oumph!” through purified compounds, setting the stage for your mission to help him achieve this goal.
Phase 1: Spaceport Underground Operations
The first phase of the Clean Dream quest takes place entirely within the underground tunnel system beneath the Launch Towers on the Spaceport map. This area can be confusing for newcomers, but with the right approach, you’ll navigate it efficiently.
Finding the Underground Tunnel Entrance
Optimal Entry Point:
- Location: Southwest of the Launch Tower POI
- Landmark: Look for a collapsed concrete hole or hatch with a ladder leading down
- Why This Entrance: This specific entry point places you closest to both required objectives and minimizes unnecessary travel time
Alternative Entrances:
- Multiple access points exist around the Launch Towers
- Look for hatches, ladders, or collapsed concrete sections
- All entrances eventually connect to the main tunnel network
Navigation Tip: Toggle your map layers using the map key to clearly see tunnel paths and intersections. This feature is invaluable for avoiding getting lost in the underground maze.
Objective 1: Search Four Containers in Underground Tunnels
This objective requires you to find and interact with four containers within the tunnel system. While straightforward in concept, the sparsity of lootable containers can make this step challenging.
What Counts as a Container:
- Lockers and tool cupboards
- Wall panels and electrical boxes
- Breachable storage containers
- Standard lootable storage objects
Strategic Container Locations:
- Raised Walkway Area: Most containers are located on the slightly elevated walkway running along one side of the main tunnel
- Control Rooms: Small rooms branching off the main walkway often contain multiple container options
- Main Path: Keep an eye out for breachable boxes and vehicles along the primary tunnel route
Critical Strategy: Containers already looted by other players still count toward your objective. This means you don’t need to compete for fresh loot, making the objective achievable even in heavily trafficked areas.
What Doesn’t Count:
- Enemy bodies or ARC husks
- Environmental objects that can’t be interacted with
- Already-opened containers that don’t have an interaction prompt
Objective 2: Find and Monitor Any Filtration System
After searching four containers, your next objective is to locate and monitor a Filtration System within the same tunnel network.
Identifying Filtration Systems:
- Appearance: Large green water tanks or wall-mounted units
- Location: Central areas of the tunnel network
- Reference Point: If you’ve completed the “Switching The Supply” quest, the Filtration System is located near the water valve from that mission
Monitoring Process:
- Locate the System: Look for the distinctive green tank against tunnel walls
- Interact: Approach and press the interaction prompt
- Hold Interaction: Maintain the interaction for approximately 10 seconds
- Confirmation: Wait for the objective completion notification
Optimal Filtration System Location:
- Near the collapsed tunnel entrance (southwest of Launch Tower)
- Close to the water valve from the Power Out quest
- Easily accessible from multiple tunnel directions
Pro Tip: Any Filtration System in the tunnels will work for this objective, so you’re not limited to a single specific location. This flexibility allows you to choose the safest or most convenient option based on your current position and potential threats.
Phase 2: Blue Gate Maintenance Bunker
Once you’ve completed both objectives on Spaceport, extract safely and prepare for the second phase of the Clean Dream quest on the Blue Gate map. This phase takes place entirely within the Maintenance Bunker, a compact but strategically important location.
Finding the Maintenance Bunker
Location Details:
- Map Position: Southeastern area of Blue Gate, near the Checkpoint POI
- Proximity: Close to the Overlook Airshaft extraction point
- Surface Landmark: Look for a small surface structure with a bunker entrance
Entry Strategy:
- Main Entrance: The most direct route is through the primary hatch near the surface building
- Safety Consideration: This area often has higher player traffic, so approach with caution
- Threat Awareness: Rocketeers and other ARC patrols frequently patrol this area
Navigation Tip: On the map overlay, the entrance appears near the “N” in the word “Maintenance,” providing a reliable reference point for navigation.
Objective 3: Monitor the Purification System in the Bunker
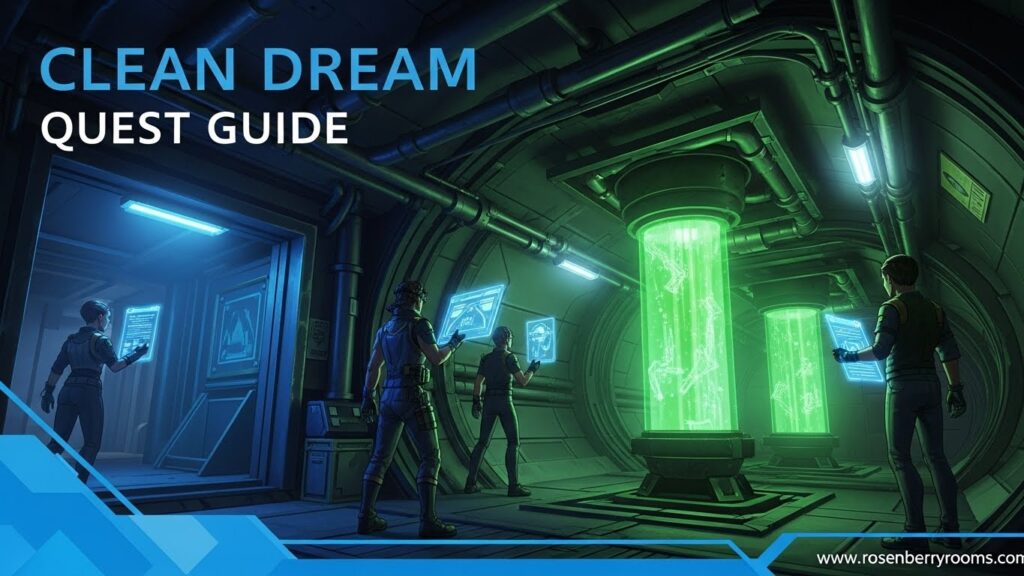
Upon entering the Maintenance Bunker, descend into the main chamber where you’ll immediately notice the large cylindrical Purification Systems that dominate the room.
Identifying the Purification System:
- Appearance: Two large cylindrical tanks in the central room
- Position: Ground floor of the main bunker chamber
- Visual Cues: Industrial-looking equipment with interactive panels
Monitoring Process:
- Approach Either Cylinder: Both purification systems work for this objective
- Interact: Move close and press the interaction prompt
- Hold Interaction: Maintain for 5-10 seconds
- Completion: Wait for the objective update notification
Strategic Note: The leftmost cylinder is often reported as the most reliable option, but both should function correctly for quest completion.
Objective 4: Find and Photograph the Blueprints
The final objective of the Clean Dream quest requires you to locate and photograph blueprints within the Maintenance Bunker’s administrative area.
Blueprint Location:
- Area: Admin Room on the upper walkway level
- Access: Climb the metal staircase or ladder from the main chamber
- Room Description: Small office space with desks and security equipment
Finding the Blueprints:
- Ascend to Walkway: From the purification systems, head back up to the upper level
- Navigate the Walkway: Follow the walkway and look for a side room
- Locate the Admin Room: Enter the room containing lockers and a Security Breach point
- Identify Blueprints: Look for glowing blueprint documents on a desk
Photography Process:
- Interaction: Simply approach and interact with the blueprints
- Automatic Completion: The game automatically handles the photography mechanic
- Quest Completion: This interaction completes the entire Clean Dream quest
Pro Tip: If you entered the walkway from a different staircase, look for a door along the walkway. The blueprint room is typically located just inside and to the left of the main walkway path.
Advanced Strategies and Expert Tips
Loadout Optimization
Recommended Equipment:
- Weapons: Light, quiet weapons for emergency self-defense
- Armor: Minimal armor to maintain mobility
- Utility: Medical supplies for unexpected encounters
- Why Light Loadout: Since combat isn’t required, heavy gear only increases risk without benefit
Movement Strategies:
- Stealth Approach: Move quietly to avoid attracting ARC patrols
- Cover Utilization: Use tunnel structures and bunker geometry for concealment
- Pacing: Don’t rush—take time to observe patrol patterns
Time Efficiency Tactics
Optimal Routing:
- Spaceport: Enter southwest tunnel → collect containers → monitor filtration → extract
- Blue Gate: Direct approach to Maintenance Bunker → complete objectives → extract
- Total Time: Well-organized completion takes 30-45 minutes total
Raid Management:
- Separate Raids: Complete Spaceport objectives in one raid, then Blue Gate in another
- Extraction Timing: Extract immediately after completing objectives to minimize risk
- Progress Tracking: Ensure quest is tracked before each deployment
Common Challenges and Solutions
Challenge 1: Container Scarcity
- Solution: Focus on the raised walkway area and control rooms
- Alternative: Remember that previously looted containers still count
Challenge 2: Tunnel Navigation
- Solution: Use map layer toggle to see tunnel paths clearly
- Landmark: Follow the main tunnel loop around Launch Towers
Challenge 3: Maintenance Bunker Location
- Solution: Look for the surface structure near “Maintenance” on map
- Reference: Use Overlook Airshaft extraction as a proximity marker
Challenge 4: Blueprint Room Location
- Solution: Check all small rooms off the upper walkway
- Visual Cue: Look for the Security Breach point as a room indicator
Rewards and Quest Completion
Immediate Rewards
Upon successfully completing all objectives and returning to Apollo in Speranza, you’ll receive:
Reward Breakdown:
- 1x Deadline: A powerful explosive weapon
- 3x Showstopper: High-damage ammunition
- 3x Heavy Fuze Grenade: Area-of-effect explosive devices
Reward Value: These rewards provide significant combat utility, making the Clean Dream quest worthwhile despite its non-combat nature. The Deadline explosive, in particular, is a valuable addition to any player’s arsenal.
Long-term Benefits
Skill Development:
- Map Knowledge: Improved understanding of Spaceport and Blue Gate layouts
- Navigation Skills: Enhanced ability to navigate underground areas
- Stealth Techniques: Practice in avoiding unnecessary combat encounters
Quest Progression:
- Apollo Reputation: Improved standing with Apollo for future quests
- Story Advancement: Progress in the overall ARC Raiders narrative
- Unlock Potential: May unlock additional quests or content
Community Resources and Official Channels
Official Resources
ARC Raiders Wiki:
- URL: https://arcraiders.wiki/wiki/The_Clean_Dream
- Value: Official quest information, objectives, and reward details
- Best For: Quick reference and basic quest information
Embark Studios Official Website:
- URL: https://www.embark-studios.com/
- Value: Developer announcements and official game information
- Best For: Latest updates and official news
Community Platforms
Official Discord Server:
- Value: Real-time player discussions and strategy sharing
- Best For: Live help and community tips
- Join: Search for ARC Raiders official Discord
Reddit Communities:
- r/ARCRaiders: Main community for discussions and guides
- r/YoutubeFastGamingTips: Quick guides and video walkthroughs
- Best For: Community strategies and player experiences
YouTube Content Creators:
- Video Guides: Visual walkthroughs of quest objectives
- Live Demonstrations: Real-time completion strategies
- Best For: Visual learners and detailed demonstrations
Frequently Asked Questions
How do I start the Clean Dream quest in ARC Raiders?
To start the Clean Dream quest, you need to speak with Apollo in the Speranza hub area. Apollo will give you the quest, and you must track it in your journal before deploying to ensure your progress counts toward completion. There are no prerequisite quests required to access this mission.
What containers count toward the “search four containers” objective?
Any interactable storage object within the underground tunnels counts toward this objective. This includes lockers, tool cupboards, wall panels, electrical boxes, and breachable storage containers. Importantly, containers already looted by other players still count, so you don’t need to find fresh loot. Enemy bodies and non-interactive objects do not count.
Where exactly is the Maintenance Bunker on Blue Gate?
The Maintenance Bunker is located in the southeastern area of the Blue Gate map, near the Checkpoint POI and close to the Overlook Airshaft extraction point. Look for a small surface structure with a bunker entrance—on the map overlay, it appears near the “N” in “Maintenance.” The entrance is typically a hatch with a ladder leading down into the bunker.
Do I need to fight enemies during the Clean Dream quest?
No, the Clean Dream quest is specifically designed as a non-combat mission. While you may encounter ARC patrols or other players, there are no mandatory combat encounters. This makes it an excellent quest to complete with a free or low-tier loadout to minimize risk.
What should I do if I can’t find the blueprints in the Maintenance Bunker?
The blueprints are located in the admin room on the upper walkway level of the Maintenance Bunker. After monitoring the purification system, head back up to the walkway and look for a small side room containing desks and a Security Breach point. The blueprints appear as glowing documents on a desk in this room. If you’re having trouble, check all small rooms branching off the upper walkway.
Can I complete the Clean Dream quest in a single raid?
No, the Clean Dream quest requires two separate raids because the objectives are split between two different maps: Spaceport and Blue Gate. You’ll complete the Spaceport objectives (searching containers and monitoring the filtration system) in one raid, then deploy to Blue Gate for the Maintenance Bunker objectives in a second raid.
What happens if I die during the quest?
If you die during a raid, you’ll lose any equipment you brought with you, but your quest progress will be saved for objectives you’ve already completed. You can redeploy to continue from where you left off, though you may need to complete the current map’s objectives again if you didn’t extract successfully.
Are there any time limits or restrictions for completing the quest?
There are no time limits for completing the Clean Dream quest. You can take as much time as you need between raids to complete each phase. However, it’s generally recommended to complete objectives efficiently to minimize exposure to potential threats and other players.
Conclusion and Next Steps
The Clean Dream quest in ARC Raiders represents an excellent opportunity for players to explore the game’s underground environments while working toward valuable rewards. By following this comprehensive guide, you’ll be able to complete the quest efficiently and safely, regardless of your experience level with the game.
Key Takeaways:
- Preparation is Key: Use free loadouts and track the quest before deploying
- Navigation Matters: Learn the tunnel layouts and use map features effectively
- Efficiency Wins: Complete objectives methodically and extract when done
- Rewards are Worthwhile: The explosive weapons and grenades provide significant combat value
Recommended Next Steps:
- Practice Navigation: Spend time exploring Spaceport and Blue Gate maps when not on the quest
- Try Other Quests: Consider attempting “Switching The Supply” for similar underground experience
- Join Community: Connect with other players through Discord and Reddit for additional tips
- Stay Updated: Follow official channels for potential quest updates or new content
Remember that the Clean Dream quest is designed to be accessible to all players, so don’t hesitate to attempt it even if you’re new to ARC Raiders. With the strategies and tips provided in this guide, you’ll be well-equipped to help Apollo achieve his dream of creating more powerful explosives while earning valuable rewards for yourself.
Call to Action: Bookmark this guide for quick reference during your quest completion, and consider joining the official ARC Raiders Discord community to share your experiences and learn from other players. Good luck, and may your raids be successful!
